
)
How to Reverse Sear Steak on a Grill
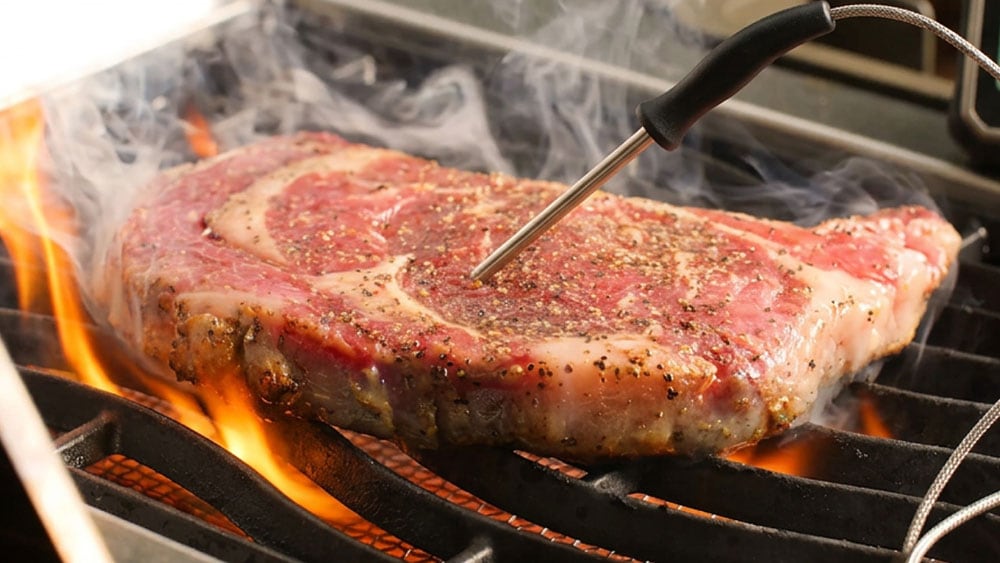
Every griller knows the feeling of slicing into what should be a perfect steak, only to find a thin, gray band of overcooked meat between a pink center and a thin, sad crust. That's the problem you fix when you learn how to reverse sear steak on a grill. The method is simple: cook low and slow until just under your target temp, then sear hard and fast to finish.
The payoff is an even, edge-to-edge doneness with no gray band, plus a real crust you can't fake with a single-stage cook. This shines on thick cuts, 1.5 inches or more, where there's enough mass to build that crust without overshooting the inside. On a thin steak, it's not worth the effort—there's no time for the method to work before it's cooked through. Here's what you need to pull it off.
Key Takeaways
- Reverse searing means cooking low first, then finishing hot. It’s the opposite of the classic sear-then-roast order.
- It delivers edge-to-edge doneness and a hard crust, and it’s nearly foolproof on thick cuts (1.5 inches or more).
- A leave-in thermometer is the one tool that makes the method work—pull at target temperature, not by time.
- Every grill can do the low phase; the sear phase is where gas, charcoal, pellet, and electric diverge.
What You'll Need
You don't need much gear, but one piece is non-negotiable. Start with a thick-cut steak (1.5 inches or more), since that's what makes reverse searing worth doing. You'll also need a grill that can run two zones with indirect and direct heat, side by side.
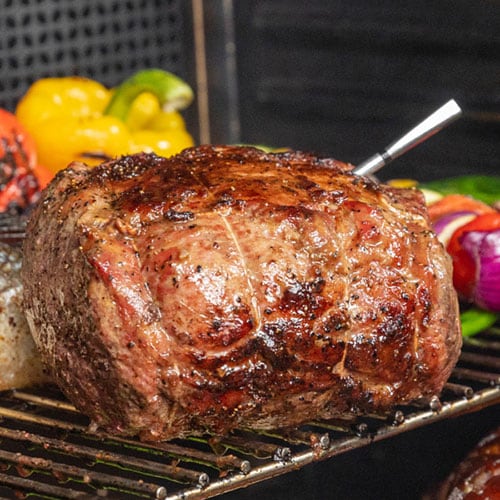
Leave-In Wireless Meat Thermometers
- Why you need it: Reverse searing is a temperature method, not a timing one. You're pulling the steak at a specific internal temp, so you need to track it the whole way through the low phase.
- What it offers: accuracy to within one degree and dual-probe monitoring (meat plus ambient/grill temp), with Bluetooth range around 150 feet or Wi-Fi if you want whole-house monitoring.
- How much it costs: Entry-level runs ~$50–80, mid-range ~$100–150, and pro models ~$300+.
- Which brands: MEATER, ThermoWorks, and Fireboard are solid places to start.
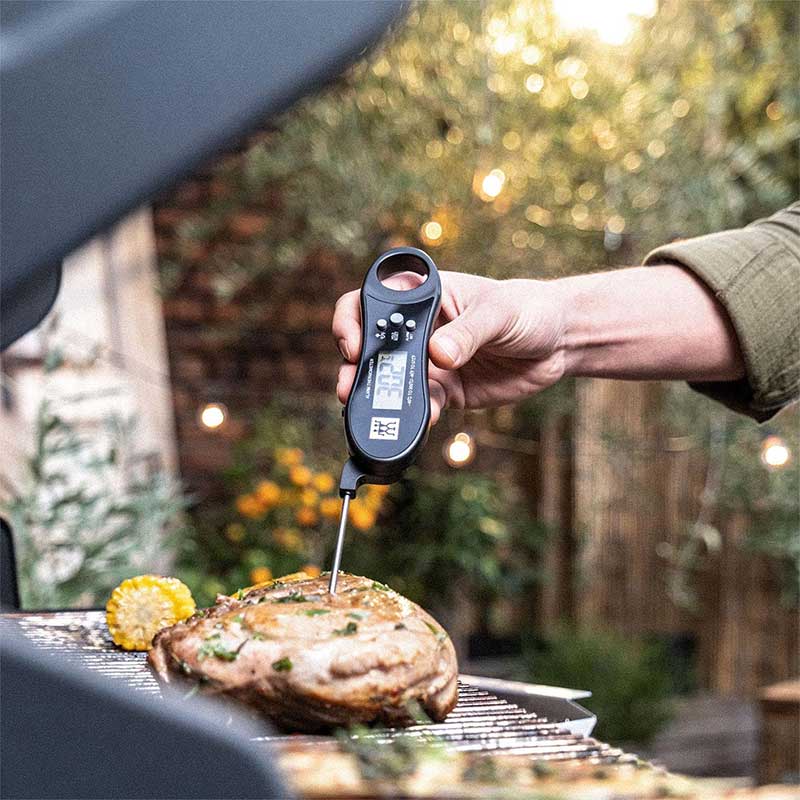
Instant-Read Thermometers
- Why you need it: Confirms your pull temp the instant the sear ends, when a few seconds can be the difference between medium-rare and medium.
- What it offers: A 2–3 second read time, accuracy to within half a degree, and a waterproof body.
- How much it costs: Budget models start around $20, with premium options in the $80–110 range.
- Which brands: BBQ Dragon is a reliable budget pick. Thermapen-class models from ThermoWorks lead the premium tier.
Step-by-Step: The Reverse Sear
- Prep & season. Salt the steak, set it out, and thoroughly dry the surface. Moisture is the enemy of crust.
- Build two zones. Set up a cool, indirect side and a hot, direct side on your grill. The method for creating them varies by grill type, so check the table below for specifics.
- Cook low and slow. Place the steak on the cool side, close the lid, and hold 225–275°F until a leave-in thermometer reads about 10–15°F below your target (roughly 115°F for medium-rare).
- Rest briefly and fire up the sear zone. Pull the steak and let it rest a few minutes while you crank the hot zone as high as it goes. This is where grill types start to diverge.
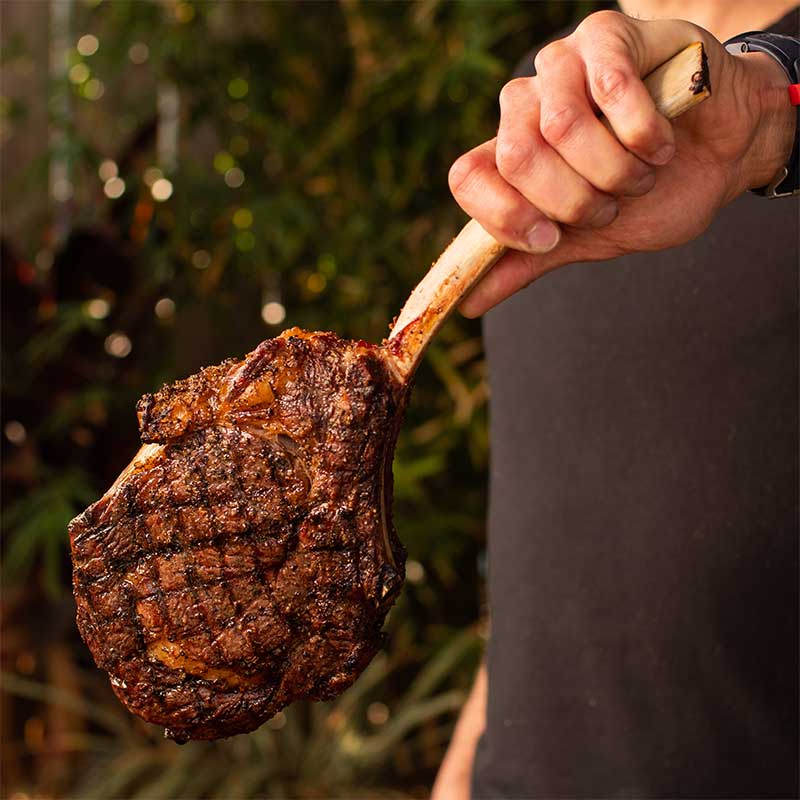
- Sear hard. Move the steak to direct heat for 60–90 seconds per side, just until a deep crust forms. Pull it at your target internal temp and serve.
How It Changes by Grill Type
Every grill nails the low-and-slow phase, but the sear is where gas, charcoal, pellet, and electric grills really part ways. Gas and charcoal deliver a true hard crust, while pellet needs a sear kit or cast iron and electric usually can't get there without a cast iron skillet.
| Grill Type | Low-Heat Phase | Sear Phase | Verdict |
|---|---|---|---|
| Gas | Two-zone: light half the burners, lid down at ~225–275°F | Turn live burners to high; sear over direct flame | Easy and reliable; the most forgiving setup |
| Charcoal | Bank coals to one side; cook on the cool side, vents managing temps | Slide steak over the hot coals with the lid off | Best sear potential; demands the most heat management |
| Pellet | Excellent, set to 225°F and walk away | Most cap out near 450°F; add a sear kit, grill grates, or finish in cast iron | Unbeatable for step one, needs help for step two |
| Electric | Workable for the slow climb to target temperature | Most can't reach a true sear finish without a very hot cast-iron skillet | Likely will require two appliances to get the job done |
Tips & Common Mistakes
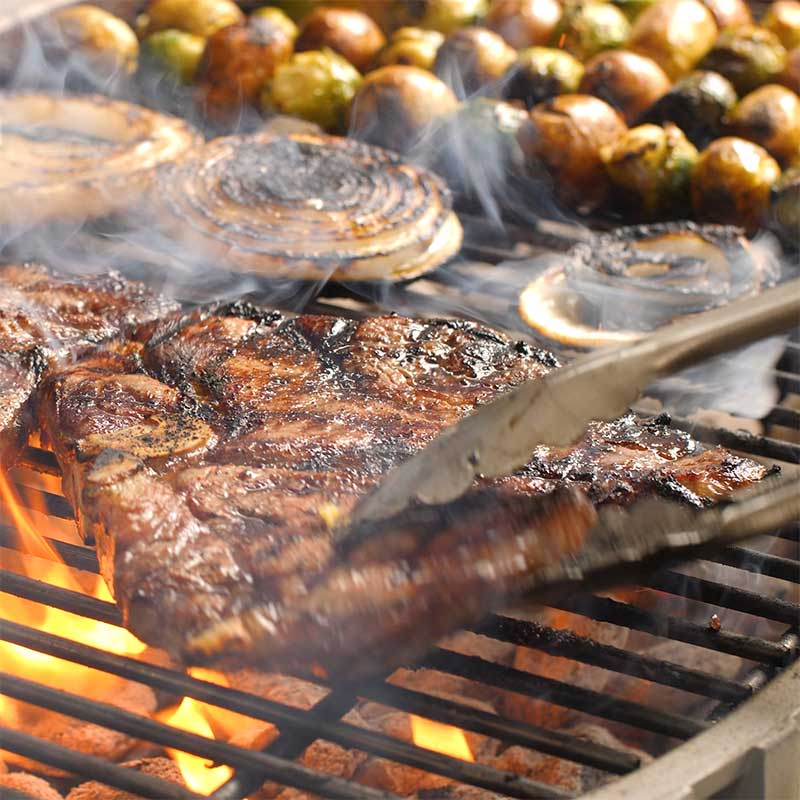
- Don't skip the dry surface. A wet steak steams instead of browning, and that's the crust you're paying for gone.
- Don't fire up the sear zone before the steak hits its under-target window (~115°F for medium-rare). Sear too early, and you'll blow past your target before the crust sets.
- If a steak is too thin, reverse searing isn't worth it. There's not enough mass to build a slow zone before the middle overcooks.
- Carryover heat is real. Pull the steak a few degrees before your target; it'll keep climbing off the grill.
- Keep the lid down during the low phase. Every peek drops the temperature and stretches the cook.


