
)
Spring Patio Prep Checklist: How to Get Your Outdoor Space Ready for the Season

Winter has a way of leaving your patio a little worse for wear. What was once your personal sanctuary or go-to gathering place can come out of the colder months looking dirty, undesired, and not quite ready for regular use. This spring patio prep checklist will walk you through what to look for and what to do next.
Quick Answer:
To get your patio ready for spring, inspect for winter damage first, clean all furniture and cushions, test umbrellas, fire pits and patio heaters, tighten any loose hardware, and replace anything worn, corroded, or structurally compromised before the season starts.
Start With a Full Patio Inspection

Look for winter damage before you clean
- Mildew & Mold: Check cushions, fabric, and shaded areas. Light spots can usually be cleaned, but deeper staining or strong orders may require replacement.
- Rust or Corrosion: Inspect metal frames, joints, and screws. Surface rust is common, while flaking or weakened metal is cause for more concern.
- Loose bolts and screws: Test chairs and tables for any wobbling and tighten unstable hardware as needed.
- Cracks, tears, or warped materials: Look at wood, wicker, plastic, and fabric for structural damage that may worsen with use.
- Pest or Debris buildup: Clear out leave, nests, and debris from corners, undersides, and storage areas.
Check what needs cleaning, repair, or replacement
Sort what you find into three quick categories:
- Clean: Dirt, light mildew, and surface grime
- Repair: Loose hardware, small cracks, minor wear
- Replace: Structural damage, heavy corrosion, or materials that no longer feel safe or usable.
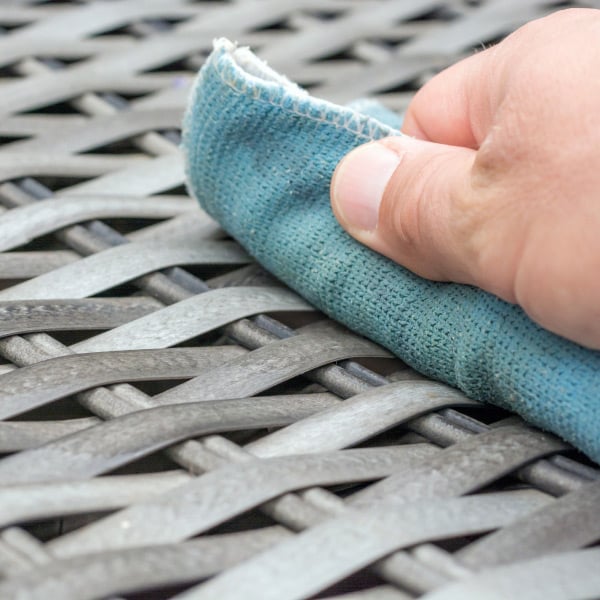
Outdoor Furniture Cleaning Tips
How to clean metal, wicker, wood, and plastic furniture

Metal
Wash with mild soap and water, rinse, then dry fully.
- Check for rust
- Surface rust = sand + touch up
- Structural rust = replace
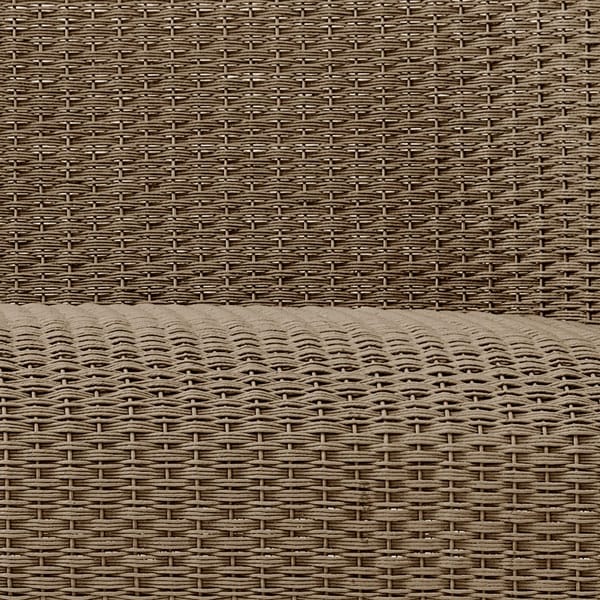
Wicker
Brush or vacuum debris, then wipe with soapy water.
- Look for cracks or unraveling
- Resin wicker = usually cleanable
- Natural wicker = brittle or breaking → replace
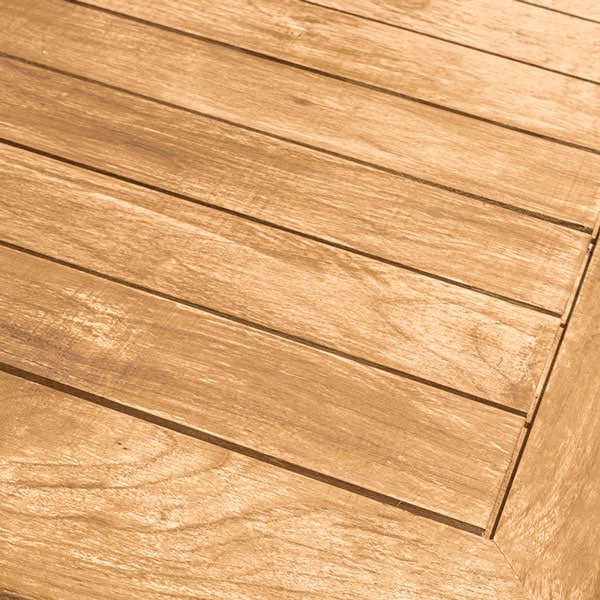
Wood
Clean with mild soap or wood-safe cleaner
- Check for warping, splintering
- Faded or gray = oil or refinish
- Warped or unstable = replace
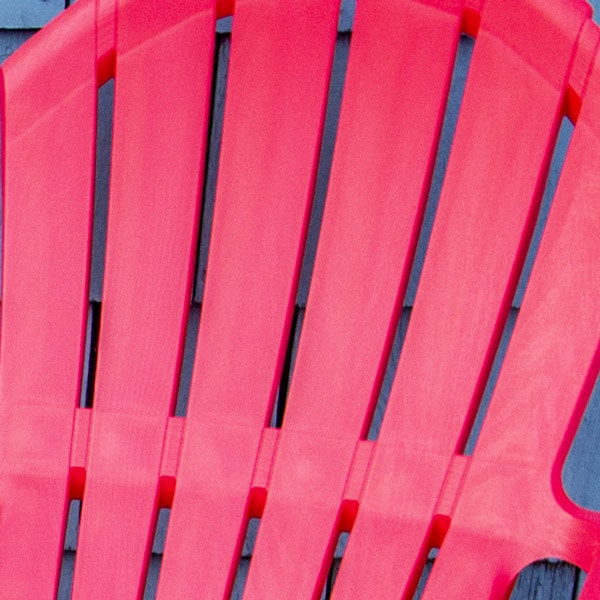
Plastic
Use soap and water or gentle cleaner.
- Check for cracks and brittleness
- Chalky or weak = sun damage → replace
What to do with cushions, slings, and fabric surfaces

Cushions
- Wash removable covers then air dry
- Spot clean inserts and dry completely
- Musty smell or flattened shape → replace

Slings
- Clean with soap and water
- Sagging or stretched → replace

Umbrella fabric
- Rinse and lightly scrub
- Mold, tears, or heavy fading → replace canopy
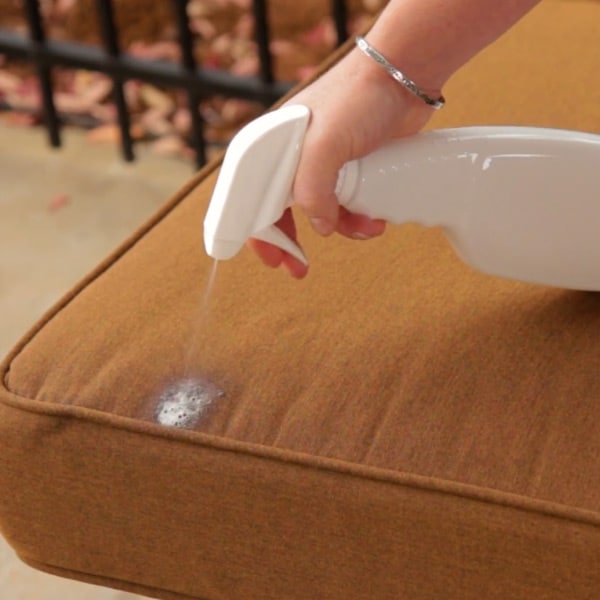
Inspect and Clean Patio Cushions
For in-depth cushion cleaning, read How to Clean Outdoor Cushions and Pillows.
Brush off debris and spot-clean stains
- Brush or vacuum off dirt, pollen, and debris
- Use mild soap and water for stains or mildew
- Avoid harsh cleaners that can damage fabric
Make sure cushions are fully dry before use
- Let cushions dry completely—inside and out
- Stand upright in sun for airflow
- Don’t store or cover while damp
Know when it’s time to replace them
- Musty smell that won’t go away
- Flattened fill or lost shape
- Tears, cracking, or heavy fading
Patio Umbrella Maintenance and Repair
Inspect the canopy for wear, fading, or tears
- Fully open umbrella and inspect in natural light
- Look for small tears, holes, and fraying at seams
- Check for fading or uneven coloration
- Inspect rib tips where fabric tension is highest
- Watch for sagging or fabric pulling away from frame
- Check for mildew or moisture staining from storage
Any issues?
- Light dirt or mildew → clean with mild soap and water
- Minor wear → monitor during use
- Tears, brittle fabric, or heavy fading → replace canopy or umbrella
Test the crank, tilt, and base stability
- Check for sticking, grinding, or unevenness when opening/closing
- Test tilt function in both direction
- Confirm tilt locks firmly in place
- Check base for looseness or wobble
- Ensure pole is tightly secured in stand
- Verify base is properly weighted for wind conditions
Any issues?
- Sticky crank → clean and lubricate mechanism
- Loose tilt → tighten hardware or inspect fitting
- Wobbly base → tighten connections or increase weight before use
Fire Pit Maintenance

Clear debris from the bowl or burner area
- Remove leaves, ash, and dirt
- Clear burner or interior areas to keep airflow open
- Wipe down surfaces to reduce moisture and risk of corrosion
- Reposition fire glass, lava rock, or media for an evenly spread
Inspect fuel connections and ignition components
- Check gas lines and propane connections for tightness
- Look for cracks or wear in hoses and fittings
- Test ignition to ensure it still sparks and lights reliably
- Stop use if you notice gas smell or inconsistent ignition
Check for rust, cracks, or blocked burner ports
- Look for rust on metal surfaces and joints
- Inspect stone, concrete, or ceramic for freeze-related cracks
- Clear clogged burner ports with a soft brush
- Ensure openings are free of soot or debris for an even flame
Read our Fire Pit Cleaning Guide.
Patio Heater Safety Check
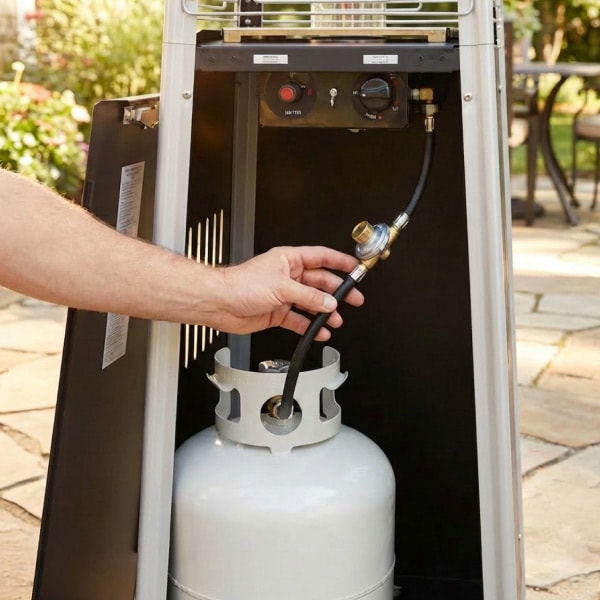
Inspect the exterior, fuel source, or power connection
- Check hoses, cords, and fittings for cracks, fraying, or corrosion
- Make sure propane tanks aren’t dented, expired, or improperly sealed
- Tighten any loose connections or base hardware
- Wipe off dust, moisture, or winter buildup
Make sure ignition and heat output work properly
- Light the heater per manufacturer's instructions
- Confirm it ignites quickly and consistently
- Let it run briefly to ensure steady, even heat
- Watch for red flags like weak flame, flickering, or odd smells
Confirm stable placement and safe clearance
- Ensure base is level and secure
- Keep space clear around and above the heater
- Remove nearby cushions, décor, or low-hanging covers
- Avoid high-traffic or windy placement areas
Tighten, Touch Up, and Replace What Winter Wore Out
Tighten hardware and touch up worn finishes
- Tighten screws, bolts, and joints on furniture
- Fix any wobbles before assuming bigger damage
- Check for rust, peeling paint, or exposed wood/metal
- Clean and lightly lubricate moving parts like hinges and cranks
Replace damaged covers, cushions, caps, or accessories
- Remove and replace cushions with mildew, order, or collapsed fill
- Swap torn or water-damaged furniture covers
- Replace missing caps, feet, or small protective parts
- Check gas/fire pit components and replace anything worn out
Finish With a Quick Comfort Refresh
Add shade, warmth, or convenience where your patio needs it most
Identify “comfort gaps” in your setup, such as:
- Too much direct sun during midday
- Chilly mornings or evenings
- Lack of areas to place food or drinks
Add functional layers for the following:
- Shade → umbrellas or side sails to reduce sun exposure
- Warmth → fire pits or patio heaters for anytime comfort
- Convenience → side tables or carts keep essentials within reach
Make small upgrades before peak outdoor season
Focus on fast, high-impact refreshes:
- Swap cushion covers (instead of replacing furniture)
- Add or update outdoor rugs to clean up look
- Refresh weather covers that are worn/faded
Improve everyday usability:
- Add simple lighting for evenings
- Create easy storage for cushions or throws
- Adjust seating for better flow and comfort
An Afternoon Patio Reset Goes a Long Way
The reality is you don’t need a full weekend to get your patio ready for spring. Just one efficient, focused afternoon. By tackling any small fixes now, and flagging what needs replacing later, your patio will be primed for the season ahead. Looking for more resources on cleaning and maintaining your outdoor space? Check out our articles on Patio Furniture Care & Cleaning and Fire Pit Maintenance.


