
)
How to Assemble a Modular Outdoor Kitchen
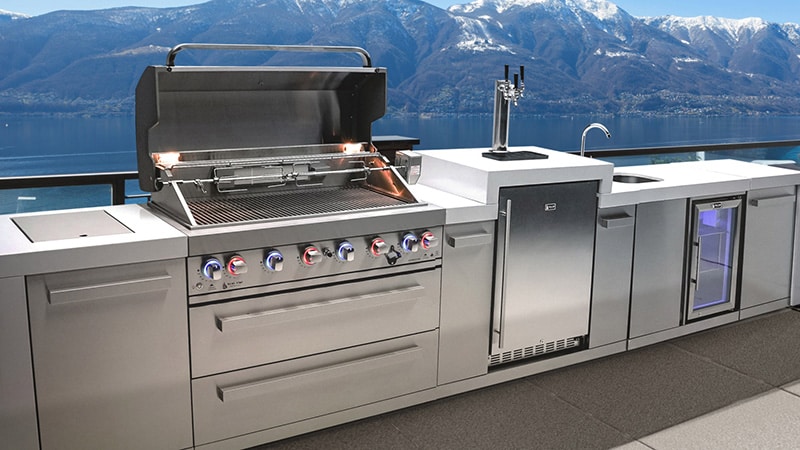
What is a Modular Outdoor Kitchen?
It’s a DIY-friendly approach to creating a fully functional outdoor cooking space. A modular outdoor kitchen lets homeowners mix and match components—including grills, storage, sinks, refrigerators, and countertops—into one cohesive setup. It’s all the style and convenience of a custom outdoor kitchen without the hassle of hiring a contractor and the headache of construction.
Benefits of Modular Outdoor Kitchens

Faster Installation
Start cooking and entertaining sooner. Say goodbye to months of construction delays and hello to a backyard that’s ready for gatherings.

Flexibility & Expandability
Customize your kitchen to fit your space and lifestyle, adding new components over time to keep your backyard gatherings fresh and functional.

No Contractors Required
Handling assembly yourself gives you control over the layout and pace, letting you create a personalized cooking space in a satisfying way.

Potentially Transportable
Being able to move or reconfigure your kitchen means your backyard entertainment setup can evolve as your space or needs change.
Planning & Pre-Assembly Prep
Start with a careful assessment of your outdoor space. Measure your patio or backyard area to ensure your modular outdoor kitchen components will fit perfectly. Check that the surface is level and sturdy—concrete patios, pavers, or decks work best.
You should think through the flow of your kitchen, from prep and grilling to serving. Make sure pathways and seating areas are clear to avoid cramped or awkward gathering spots.
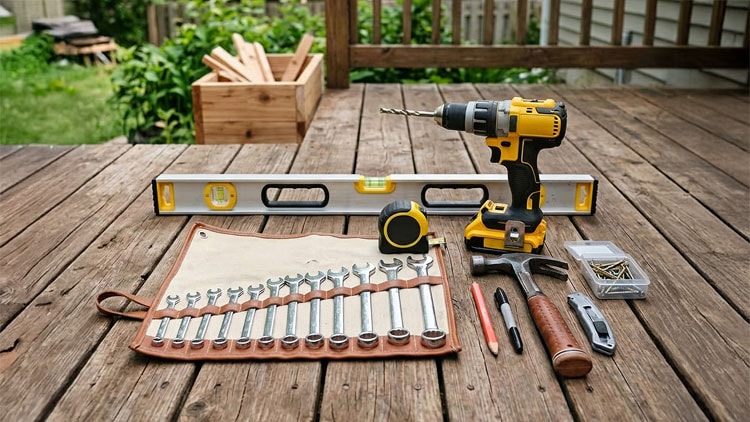
Tools You’ll Need:
- Tape measure
- Level
- Power drill/driver
- Gloves
- Safety glasses
Next is picking a layout. We offer a variety of modular kitchen layouts that fit your space and cooking preferences. They include:
Linear Outdoor Kitchens
All modules are featured in a straight line—perfect for narrow patios.
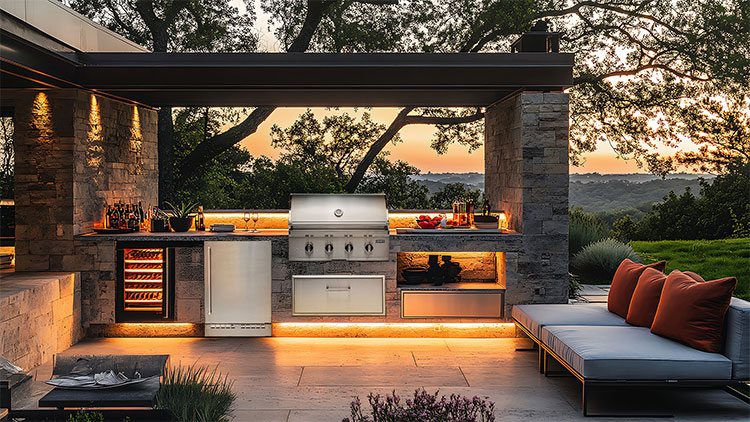
L-Shaped Outdoor Kitchens
A long side with a short L or two long sides at a 90-degree angle, creating a corner workspace.
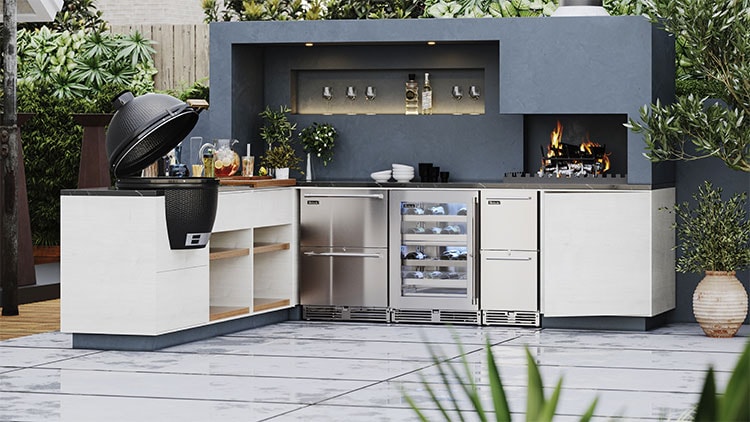
U-Shaped Outdoor Kitchens
Offers a wraparound feel, even if not a perfect U, maximizing prep and cooking areas.
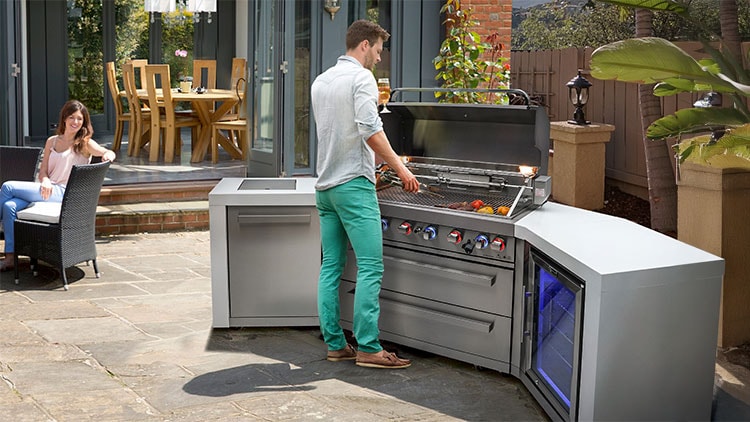
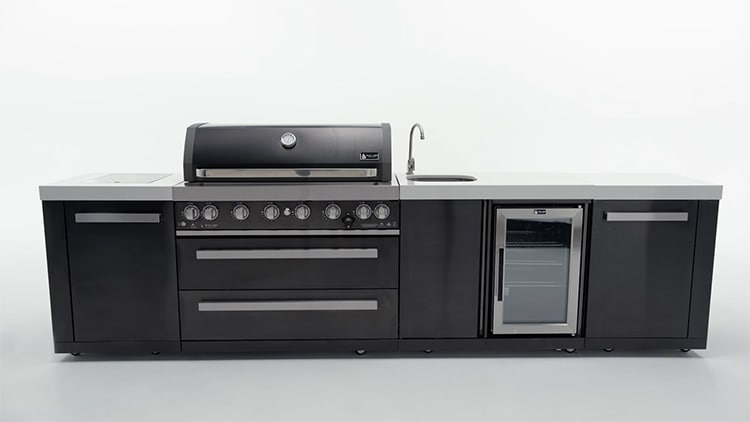
The final piece of the prep puzzle is deciding which components you want in your brand-new backyard kitchen. Modular outdoor kitchen kits let you mix grill islands, storage cabinets, side burners, and refrigerators to match your cooking style. You can start with a basic layout and expand over time, adding more components as your needs and budget evolve.
Top Modular Outdoor Kitchen Brands
)
)
)
)
If you plan to include a sink, check water availability and drainage options. Electrical access is essential for refrigerators, lights, or outlets. If you want a natural gas grill, a licensed plumber will need to bring gas to your outdoor kitchen location, so plan accordingly. For safety, make sure there’s adequate ventilation if your grill head is under a pergola or overhang. This will prevent smoke from building up. And, of course, before buying or assembling, check for any local regulations, permits, or HOA restrictions on outdoor cooking appliances. Getting clearance in advance avoids problems later.
Lastly, the majority of modular outdoor kitchens are delivered curbside or at the end a driveway, so make accommodations to move the equipment shortly after this arrives. We recommend doing this with at least one friend to ensure the transportation is both safe and efficient.
Step-by-Step Assembly
Most modular outdoor kitchen kits are designed for straightforward installation, but taking the process one step at a time helps ensure a smooth build. Follow these steps to create a safe, level, and professional-looking outdoor kitchen that’s ready for years of backyard cooking and entertaining.
Step 1 — Lay Out & Foundation
Unpack all modules and organize components, then confirm your layout matches your plan. Start with a stable, level surface like a concrete patio, pavers, or a deck.
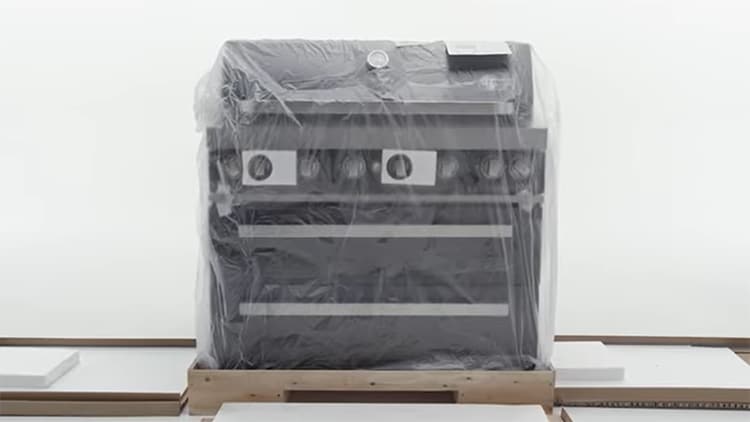
Step 2 — Level Frames & Modules
Position the main frame sections and use a level (we recommend a 6-foot level) to keep everything even. Adjust feet or add shims as needed for a precise fit.
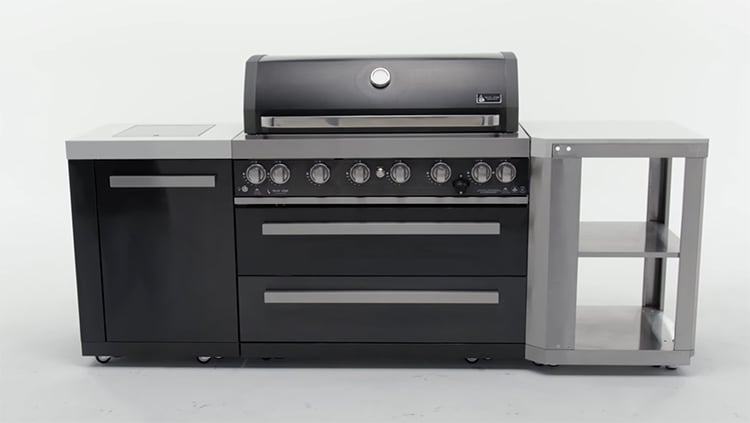
Step 3 — Connect Modules
Securely attach cabinetry, grills, and storage units using the included hardware. Check that doors, drawers, and appliance openings align correctly.
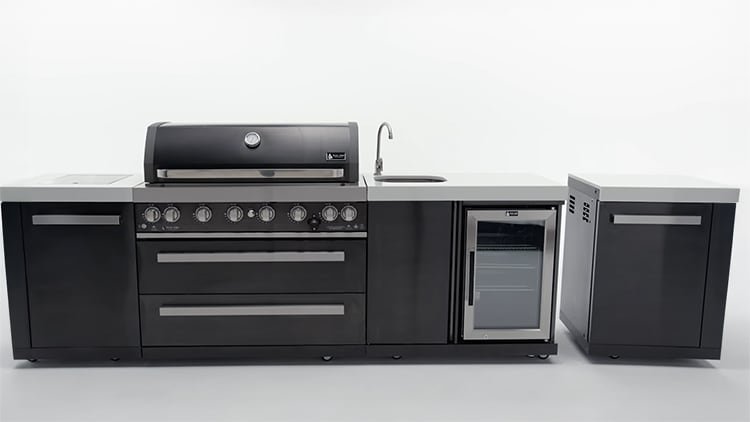
Step 4 — Install Countertops & Finish
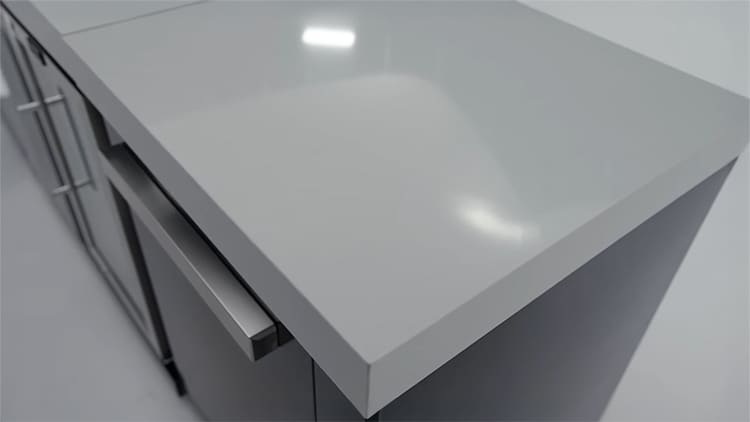
Attach countertops following manufacturer guidelines, making sure appliance cutouts are accurate. Seal any exposed edges to protect against weather and wear.
Step 5 — Appliances & Utilities
Install grills, burners, refrigerators, and sinks, then connect gas and electrical lines according to local codes. Bring in a pro if needed and follow all required clearances.

Step 6 — Final Checks
Go back through and confirm everything is level and secure. Test appliances, gas connections, drainage, and electrical to make sure it’s all working properly.
Helpful Tips & Best Practices
DIY doesn’t have to mean you’re on your own! It’s a good idea to work with a friend, since larger components can be heavy and difficult to maneuver on your own. Just remember to always follow the product manual for your specific kit, especially as modular systems can vary in design and assembly requirements. Finally, make sure there’s proper ventilation for any gas components to ensure safe, efficient operation.
Safety & Code Considerations
For safety and compliance, certain aspects of your modular outdoor kitchen—like gas and electrical connections—may require prep work and/or installation by a licensed professional. Be sure to maintain proper clearances from nearby structures to reduce fire risk and promote safe operation. It’s also important to check your local building codes and regulations, as requirements for outdoor cooking appliances can vary by area.
A modular outdoor kitchen is a true DIY solution that gives nearly any homeowner the chance to build a backyard centerpiece. With careful planning, consideration for utilities and layout, and attention to safety, your DIY outdoor kitchen island can be ready to entertain in no time. Enjoy every step—from unpacking your components to the first sizzle on the grill!

